In class we were taught how to change coloured photographs into black and white, also how to turn a photograph from colour to sepia.
I don't use photoshop because it's too expensive to buy, i use GIMP it's a simpler version of photoshop.
Before
After
How i did it
I opened up gimp and opened up my image.
I clicked on Colors then selected Colour Balance i just played around with the settings until i was happy with the outcome.
Unfortunately i didn't realise until i finished editing this photograph that it was actually taken on my Sony Erricson K800i.
How i did it
I opened my image and selected the lasso tool and trace around the baby and the background so all of the background is selected.
I then clicked on Colours then selected Colourize.
I then played around with the settings until it went black and white.
Accidents happen
There is a reason why there isn't a before. Once i finished editing my image i accidentally saved over the original image.
Before
After
With this photo i duplicated the original image.
The copied image, i messed around with brightness-contrast until i had 3 strong colours.
Next i turned it black and white by pressing colors-desaturate.
Once i did that i right clicked on the layer and selected Add Alpha.
After i had done that i clicked on the erase tool and erased the black and white from the lollypop.
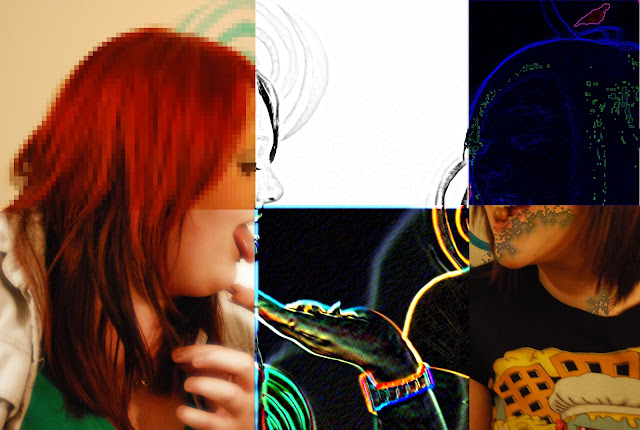
With this image i was trying out filters.
To get to filters on Gimp you click filters and then just tested them out to see which ones you like.
Starting with the top left square.
This filter is pixelate, it simplifies the image into an array of solid - coloured squares.
Bottom left is soft glow this just simply adds a soft glow to the image, you can also choose how strong the glow is.
Top center is sketch, this simply makes your image look as if someone has sketched it.
Bottom center is neon glow.
Top right Predator, it adds a predator look to the selected region (or alpha)
Bottom right is a coffee stain, it adds a realistic coffee stain to the image.


No comments:
Post a Comment